Install an agent
On this page
Installing a private agent takes two steps: create it in Onagre to get its token, then install it on a machine of the network to monitor. If you are new to agents, read Public and private monitoring first.
Before you start#
- A machine inside the network to monitor, always on: a small VM is enough. Linux (x64 or ARM64) is recommended; Windows (x64 or x86) and Docker (x64) are supported.
- Outbound HTTPS (port 443) from that machine to
api.onagre.ioand to the Onagre Hub. Nothing inbound. - The Manager role, to create the agent in Onagre.
1. Create the agent in Onagre#
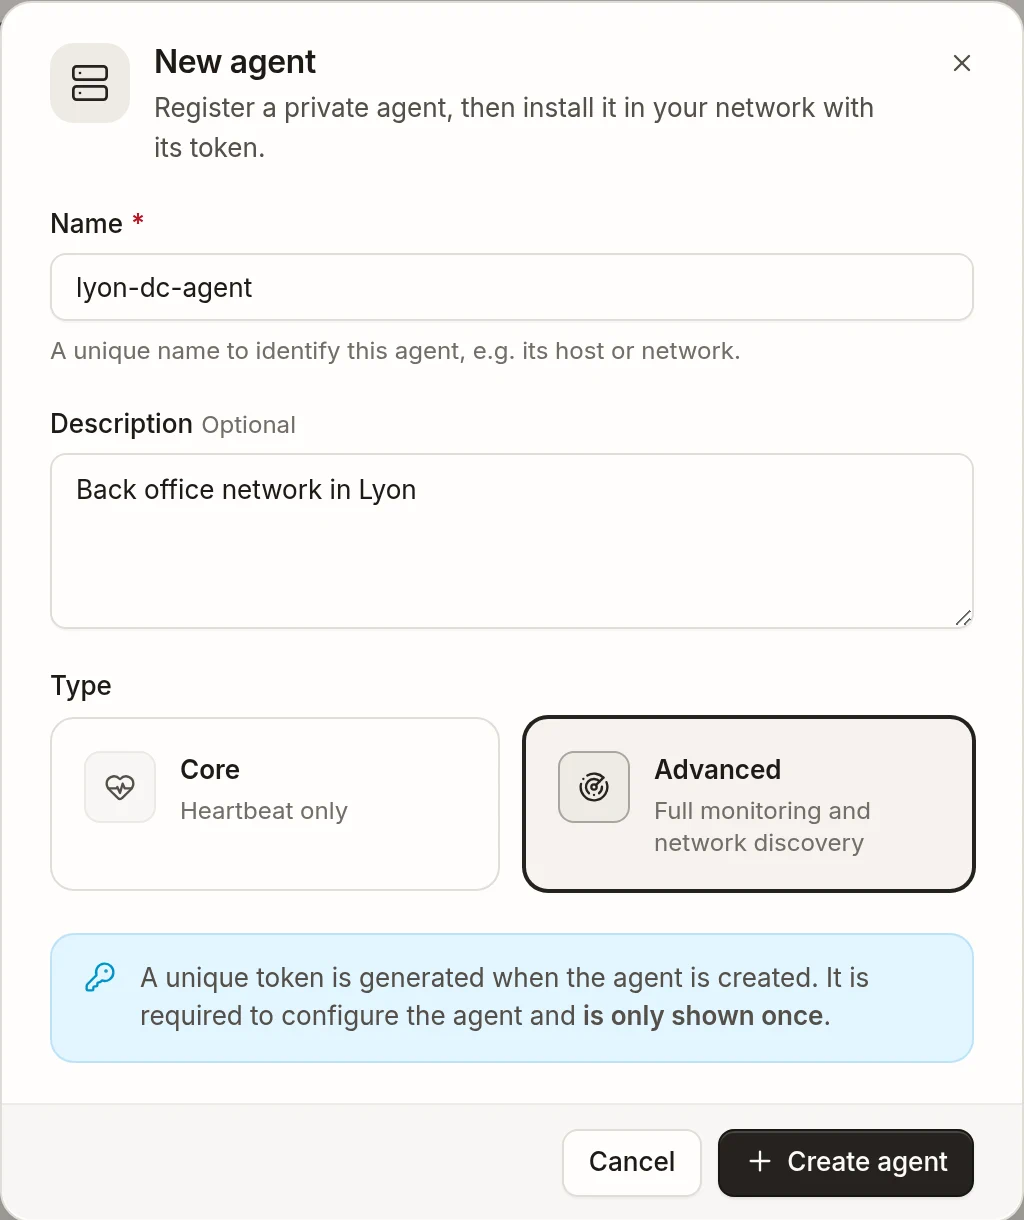
- Open Configuration → Agents and click New agent.
- Give it a Name that says where it runs — its host or its network, for example
par1-prod-dc— and an optional Description. - Choose its Type: Core (heartbeat and machine health only) or Advanced (runs your sensors). See Agent types.
- Click Create agent.
Onagre shows the agent's token, of the form ona1.<code>.<secret>. Copy it now: it is shown only once. It is the agent's only credential; keep it like a password.
Lost the token, or think it leaked? On the agent's Setup tab, Revoke and regenerate issues a new one and immediately invalidates the old one: update the agent with the new token so it can reconnect.
2. Install it#
| Method | Best for |
|---|---|
| Linux — automatic — recommended | Linux servers and VMs: one command, an unprivileged systemd service, safe upgrades with rollback. |
| Linux — manual | Linux hosts where you want to control every step. Same installation as the installer. |
| Docker | Container hosts, Kubernetes, managed container platforms — and several agents on one host. |
| Windows | Windows Server, as a native Windows service. |
| Ansible | Deploying agents across a fleet of Linux hosts. |
Every method does the same thing: run the agent binary with its token in the TOKEN environment variable. The agent needs no configuration file: it receives everything else from Onagre.
3. Check that it is connected#
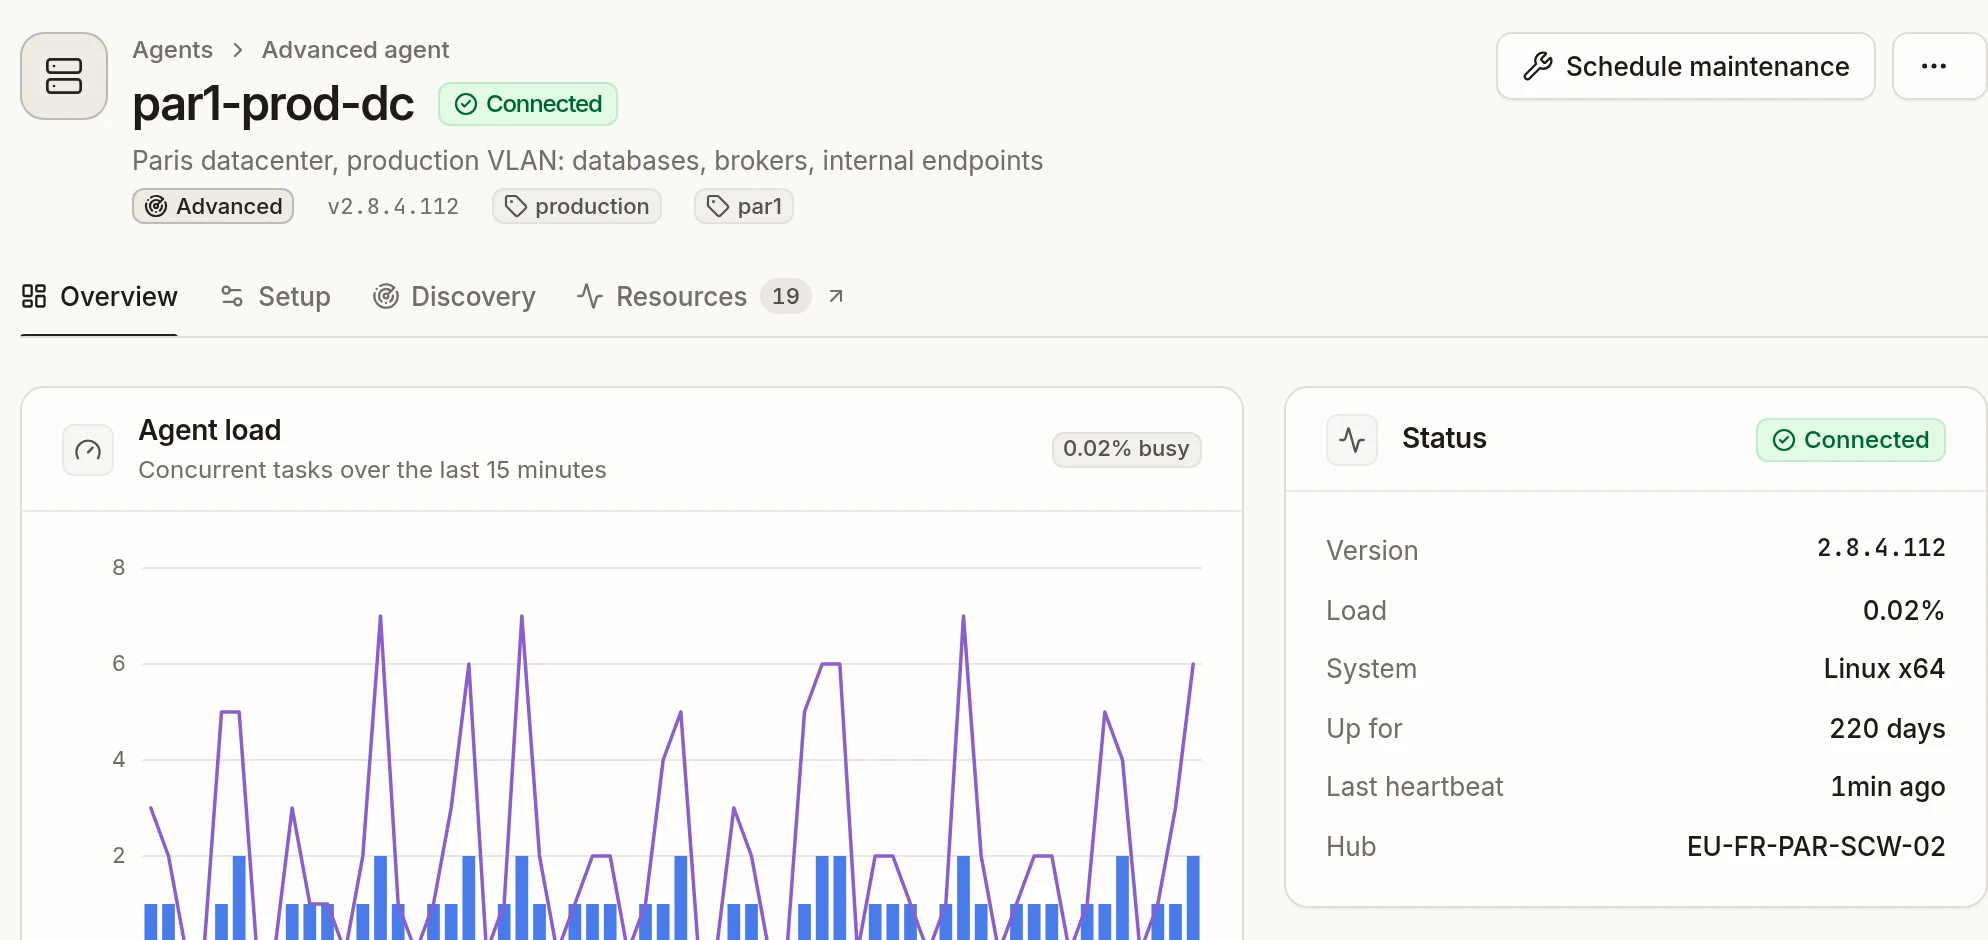
After a few seconds, the agent shows Connected in Configuration → Agents, with its version and system.
On the machine itself, curl -s http://127.0.0.1:27520/ready answers {"status":"Ready"} once the agent is connected — see Health endpoints.
If it stays Never deployed:
- read the agent's output (
journalctl -u onagent,docker logs…):Waiting for API at …that never ends meanshttps://api.onagre.iocannot be reached — check the firewall and the proxy;TOKEN is not validmeans the token was mistyped or revoked: the agent then stops (exit status78) until you replace it; - if
/readyanswersHub stream not established, the Hub cannot be reached on port 443, or another agent already uses this token: one running agent per token.
Operate your agents#
- Keep them up to date — a badge in the agents list shows when an update is available; each method page explains how to update.
- Run two agents for critical checks — on two machines, so that one machine going down does not leave the network unwatched.
- One token per agent — never copy a token to a second machine: create a second agent.
- Collect the logs — see Agent configuration.